2.1. Installation on Windows
- Download the client under „Clients“ on the web interface https://unibox.uni-rostock.de/download_client.
- Run the setup and follow the installation instructions
Contact
Albert-Einstein-Straße 22
18059 Rostock
Josephin Tschakste
Tel.: +49 381 498-5347
unibox.support(at)uni-rostock.de
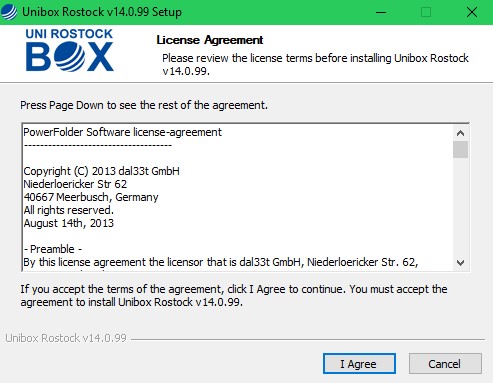
3. Agree to the license agreement.
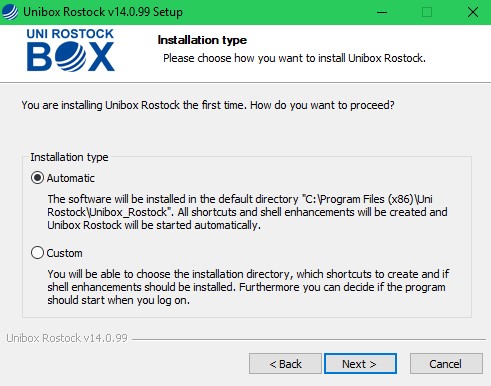
4. Selection of the installation type:
4.1. Automatic
Select the installation type „Automatic“. The software will installed in the
default directory with standard links and settings.
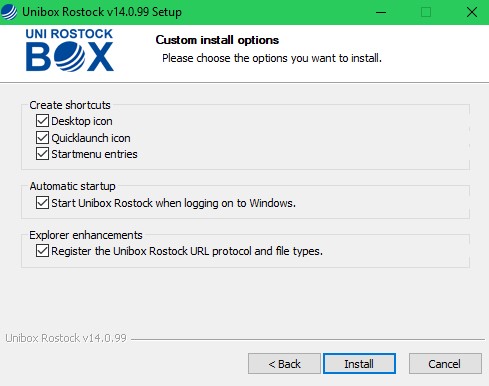
4.2. Customized
Alternatively, you can choose the installation type „Custom“. If required,
you can edit the destination directory here. Furthermore, you have the
possibility to select shortcuts, the automatic start, system expansions.
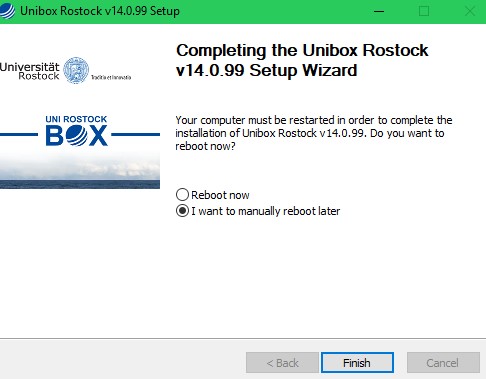
5. After successful installation, the computer can
restarted directly or later.
6. Then start the client and log in with your user account.
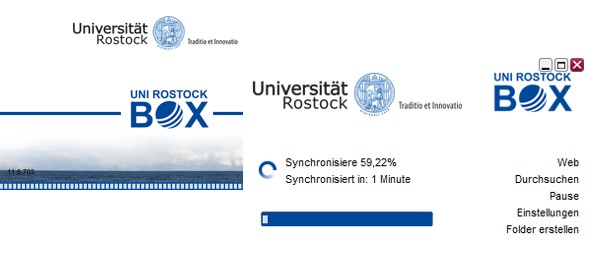
7. In the client, you have the possibility to make standard settings. By default, logging should enabled. If errors occur,
these log files can contribute to faster problem solving
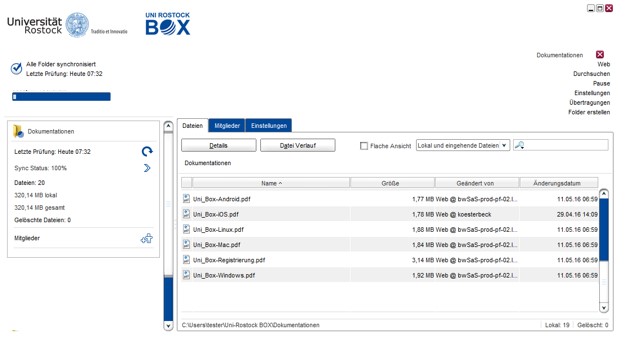
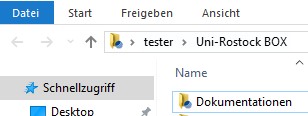
8. Via the Windows File Manager, you have the possibility to create and edit
data
9. Now you can work with the client, store data, synchronize and work on
common projects.