1.2. Working with the webinterface
Via the web interface it is possible to manage folders and files, to create documents, to share the data with other users in different ways and to exchange them.
1.2.1. Create a folder
1.2.2. Right Management
1.2.3. Manage folder/file
- Sharing by adding members to folders
- Membership / Invitation Overview
- Release via link
- Sharing Videos as Stream
- embed links the Unibox in Stud.IP
- Transfer owner rights
1.2.5. Administration of quota
1.2.6. Management of created link releases
1.2.7. Create and use Groups
1.2.8. Create an upload form
1.2.9. News
1.2.10. Clients
1.2.11. View mode and sort option
Contact
Albert-Einstein-Straße 22
18059 Rostock
Josephin Tschakste
Tel.: +49 381 498-5347
unibox.support(at)uni-rostock.de
1.2.1. Create a folder

Folders can used to structure the data. Invitations can generated for each folder. Thus, the access rights for other people can be limited to certain areas. At the top level, at least one folder must create to upload data. Invitations and permissions can only assigned to top-level folders.
New Folders can be created on the top level Home and as subfolders in existing folders via the -icon. This followed by the assignment of a folder name and the folder is created.
1.2.2. Right management
In the Unibox there is a rights administration at folder level as well as link release level.
If you would like to share a folder with one or more persons, you have the opportunity to assign a corresponding right per user.
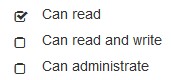
With the read right, the members of the folder can read but not modify or delete the contents of the folder.
With the right to read and write, the members of the folder can read, modify and delete the contents of the folder.
With the administration right, the members of the folder can read, modify, delete and share the contents of the folder as well as add other users to this folder or delete the folder. This right should only be distributed to some extent.

If you release a folder via link, read rights can be assigned for the link release.
With the read right users who have received this link can download the contents of the folder or the file.
1.2.3. Manage folder/file
Download

Through the web interface, files and folders can downloaded from the server. To do this, mark the folders or files by selecting the checkbox of the folder. This checkbox appears as soon as you move the mouse over the folder.
After selecting all desired folders or files, you can download the folders using the download icon .
If you select one or more folders for download, the folders will downloaded with all their contents. If you select one or more files within a folder, only the selected files will downloaded.
Upload
Files can be stored on the server via the web interface.
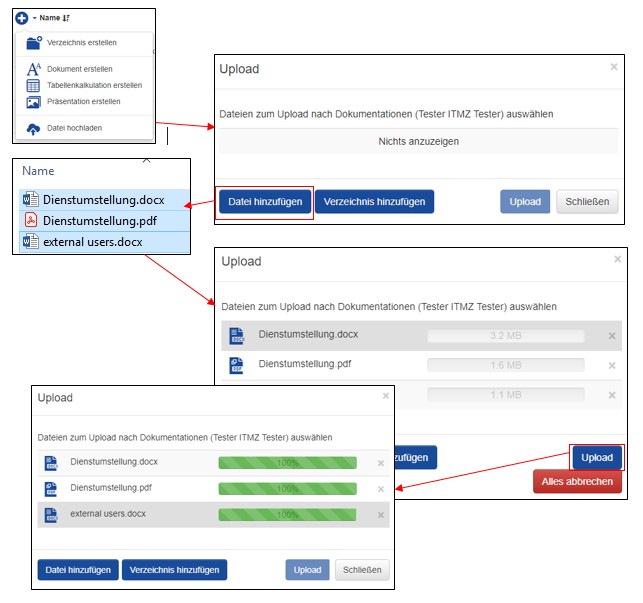
Navigate to the folder where you want to save new files. Click on the "+" - field and select "Upload file" and then "Add file" to select the desired file (s) from the computer. Then click on "Upload" to upload the file (s). After completing the upload, you can close the dialog box.
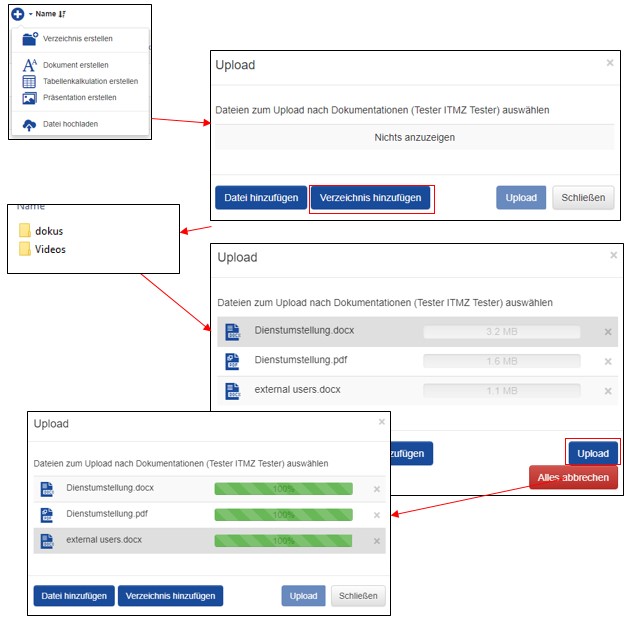
You also have the option of uploading entire directories. To do this, place the folder / subfolder and click on the "+" field again and select "Upload file" and then "Add directory" to select the folder containing the desired file (s). All contained files will be added to the upload dialog and can be uploaded.
Alternatively, you can drag and drop the file into the web interface.
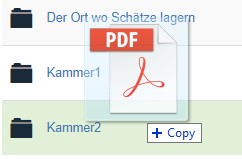
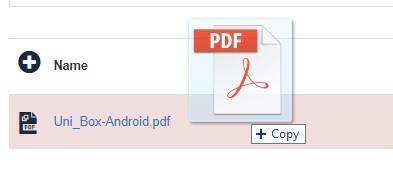
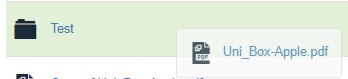
Another way to upload the files is to drag the files to uploaded to the folders. As you drag the file over a folder, the line turns green and you can upload the file. This is then loaded into the folder.
If it turns red, an upload is not possible. For example, this case may occur if you try to drag a file within a folder to another file to upload it. This is not possible.
Changes

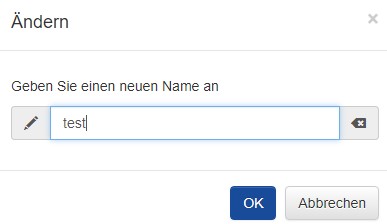
File names and folder names ca be renamed via the web interface. To do this, click on the Rename-Icon and enter a new in the corresponding dialog box for the folder or file.
Manage
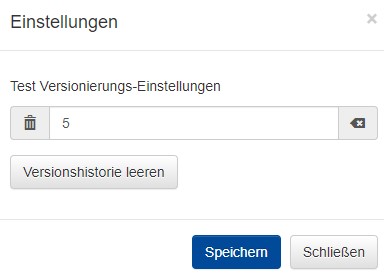
For each folder you have the possibility to set the versioning. Click on the Manage icon and set for each folder how many versions should be removed. You also have the option of clearing the version history. Please note that it can no longer be used to restore previous versions. The previous versions are deleted for all files in the entire folder contained therein.
Clear

Each Folder with its contents as well as individual files can deleted via the web interface via the delete-symbol .
When using the desktop client at the same time, please note that the data you delete via the web interface will also deleted by the automatic synchronization with the desktop clients on the local computer!
Restore

Files that have been accidentally deleted can be restored via the website. So you are also able to access previous versions of the files. To restore files, go to the menu item Recycle Bin .
It contains the same folder structure as in folders as soon as you have deleted one or more folders or files in the respective folders.

Navigate to the respective folder from which the file is to restored. Select the appropriate file or folder in it and click the Restore-icon to restore the deleted file.
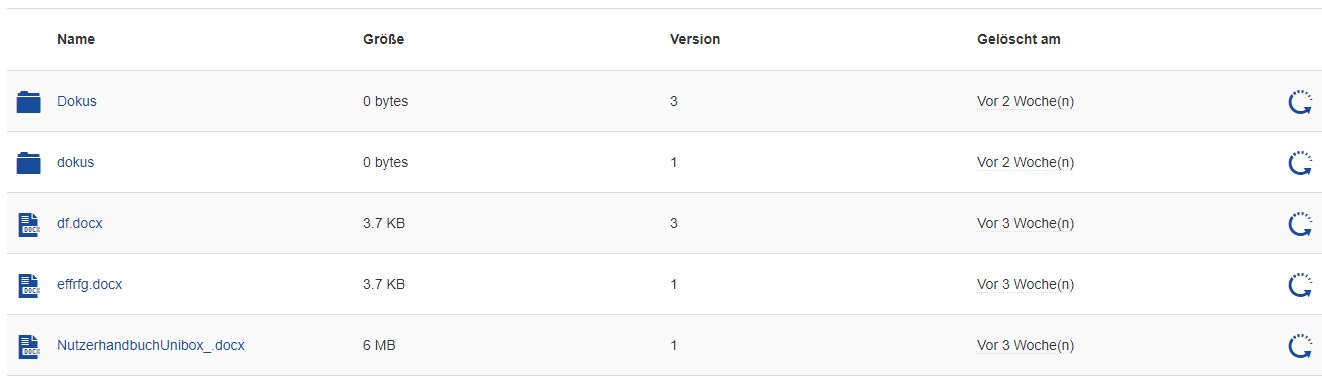
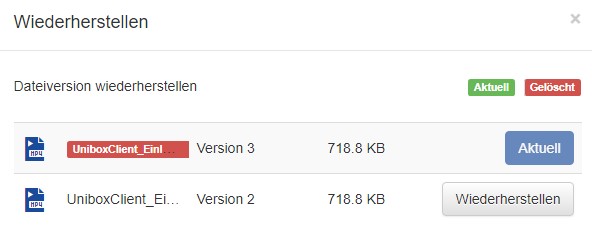
This is followed by the Restore dialog, where you can see the version levels of the files and decide which file to restore.

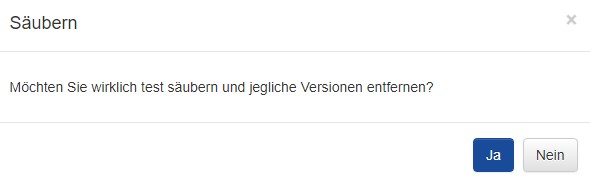
Under the menu item Recycle Bin, the previous versions for selected or all folders can be deleted. Ifo ne selects one or more folders, one can delete these and their contents by means of the Purge-Symbol .
This followed by a dialog box to confirm the deletion.

Please note that this will permanently delete the previous versions and restore older versions and deleted files is no longer possible.
Moving files

Within a folder, you have the option to cut the files form one folder at the file level and paste them into another folder, thus moving them.
To do this, select one or more files and select the cut-symbol . Then navigate to the folder where you want to move the file. In this folder you will be offered the paste-symbol . This will insert the file into the folder and move the file.
Another possibilty, as far as the file it to be moved only to a folder level below, ist o drag the file to the new folder.
This file will be moved to the subfolder.
Copy files

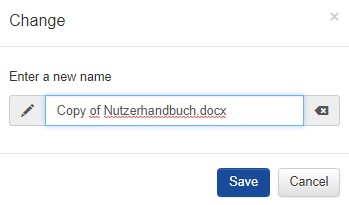
Within a folder, you have the option of copying files within the same folder at the file level. To do this, select a file and select the copy-icon. This is followed by a dialog box in which you can assign a new name for the copied file.
Leave folder/delete folder

If you have shared one or more folders with other users, you can adjust this share at any time by removing the members from the share or adding more. If you delete the shared folder, it will also be deleted for all other members.
If you have been invited by another user to a folder and thus only a member of a folder, you can not delete the folder. You have the option to leave the folder. If you leave a folder, you no longer have access to the folder and its contents. The folder will remain with the folder owner and the other members.
If you have read and write access to a folder, you can delete the contents of the folder. These are deleted then also with all other members and the owner of the folder.
1.2.4. Sharing folders/files
Sharing by adding members to folders

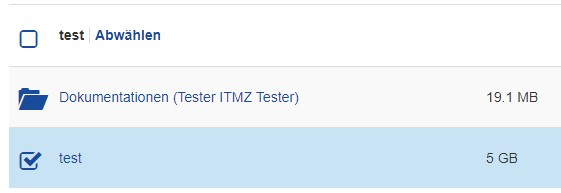
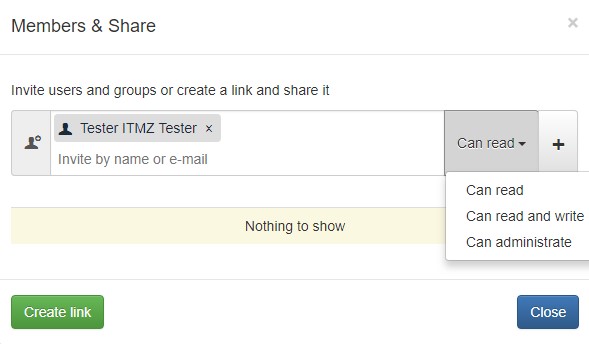
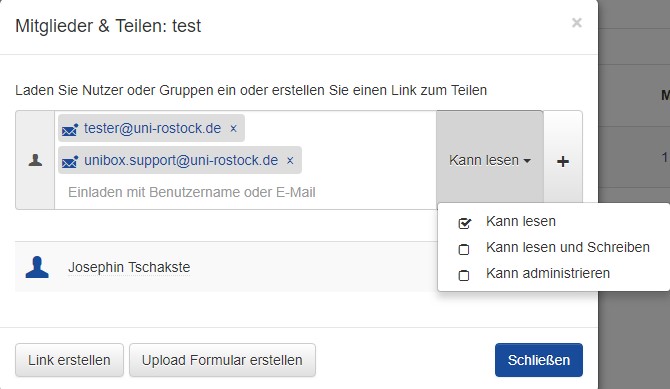
You can share folders and files with users of the University of Rostock and external users. Click on the share-icon for the file or folder and add the email address of the user you want to invite. You can also give the user a right to the folder or file. There is the possibility that the user can read, read and write or administer the file or the contents of the folder. The user is added via the „+“-symbol.
You can also register multiple users and collect the same rights for all. To do this, enter the e-mail address of a user in the field and press "Enter", then enter the next e-mail address and press "Enter" again. Repeat this until all desired users have been entered. Then select the permission and select the "+" icon to add the users.
Membership / Invitation Overview
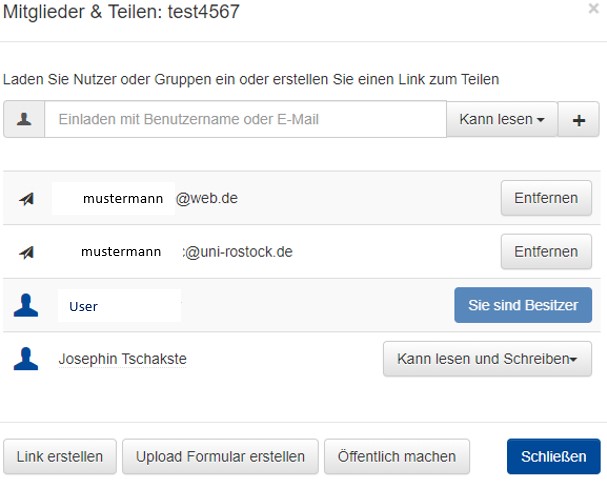
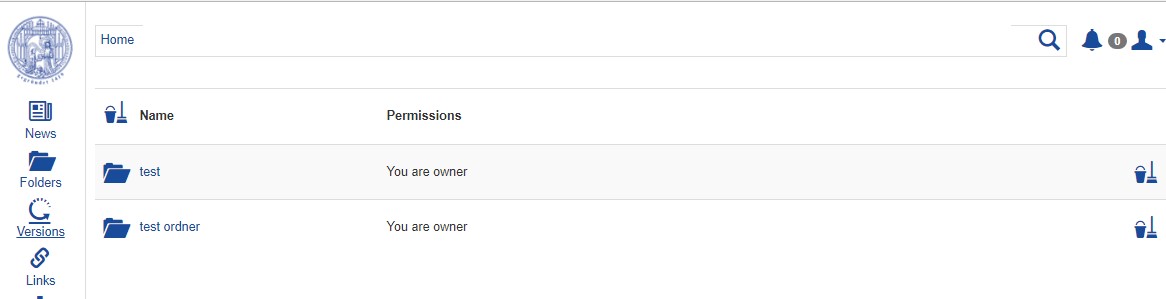
If you have invited one or more users to a folder, you will be able to see in the members view of the folder whether the invitee has already accepted the invitation to the folder or not.
To do this, open the member view of the folder. Users who have already accepted the invitation will be shown with the account icon. Users who have not yet accepted the invitation will be shown with a gray paper airplane icon.
If the invited user logs on to the web interface, he sees the folder to which you have invited.
This folder is indicated by the Paper Airplane icon and tells the invitee that the invitation is pending.

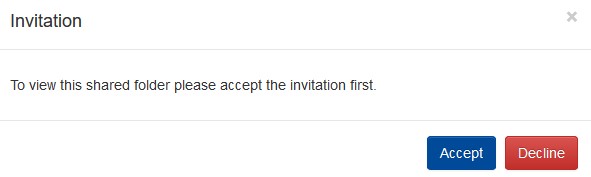
The user now has two options to accept or reject the invitation to the folder.
1. Accept / decline the invitation by clicking the arrow icon. This is followed by a drop-down box for accepting or declining the invitation.
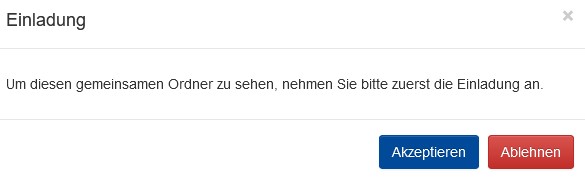
2. Accept / Decline the invitation by clicking on the folder name. This is followed by a dialog box for accepting or declining the invitation.

Release via link

It is possible to provide the files or folders directly for download via a link release. To do this, click on the share-icon and select the „Create link“ button. Then a link will created. Users who have this link can read the contents of the folder. Via the dialog window, you can remove the link with “Remove”.
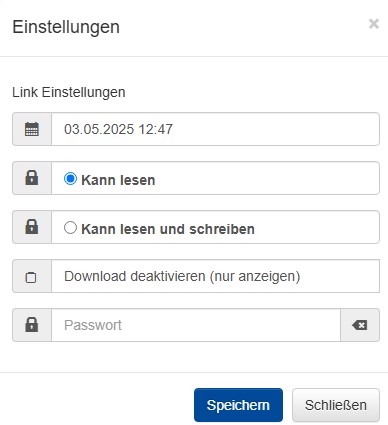
In addition, other settings for the link release via „Settings“are possible. It can be an expiration date, the maximum number of downloads, as well as a password set.
Please note: By default, all links have a duration of 30 days and can be valid for a maximum of one year. If you would like to have a shorter or longer duration than 30 days for your share links, please adjust this accordingly in the settings.
The advantage of this is that the folders and files can be provided without registration. Please note, however that the link can be passed on and it is not comprehensible who downloads the data.
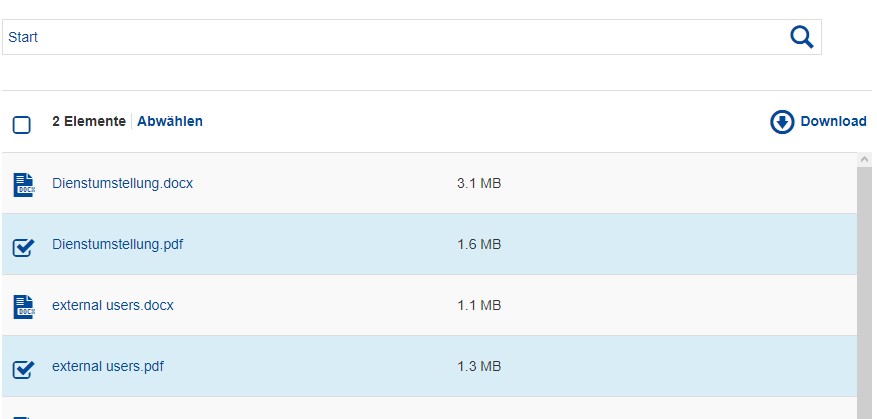
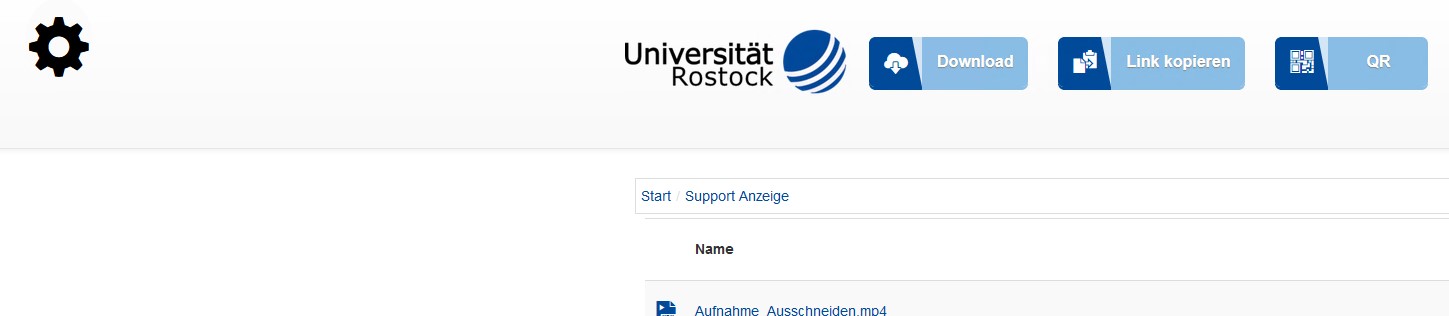
Users who receive the share link can download the files individually or the entire folder.
A share link can also be accessed via a QR code. This will download the contents of the entire folder when the QR code is scanned.
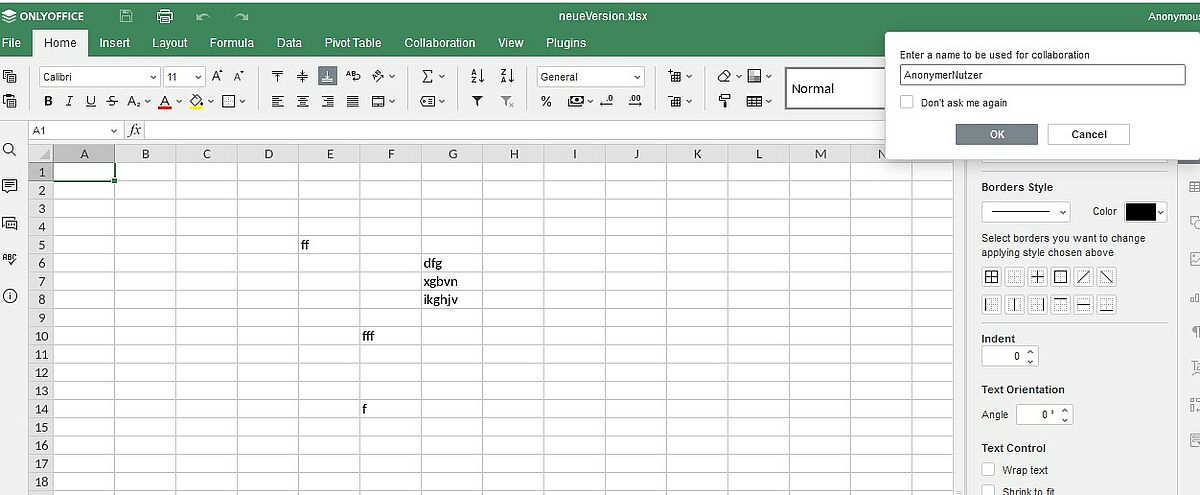
Furthermore, you have the option to create a link directly to a file. If you create the link to a Word/Excel or PowerPoint and give the permission "Can read, write and upload", it is possible to work anonymously on the document.
If the recipient of the link opens it in the web browser, the file opens in OnlyOffice and the recipient can work on the document. This can be done anonymously or he can voluntarily enter a name.
Please keep in mind that the link can be shared without your knowledge and consider this when assigning permissions.
Sharing Videos as Stream
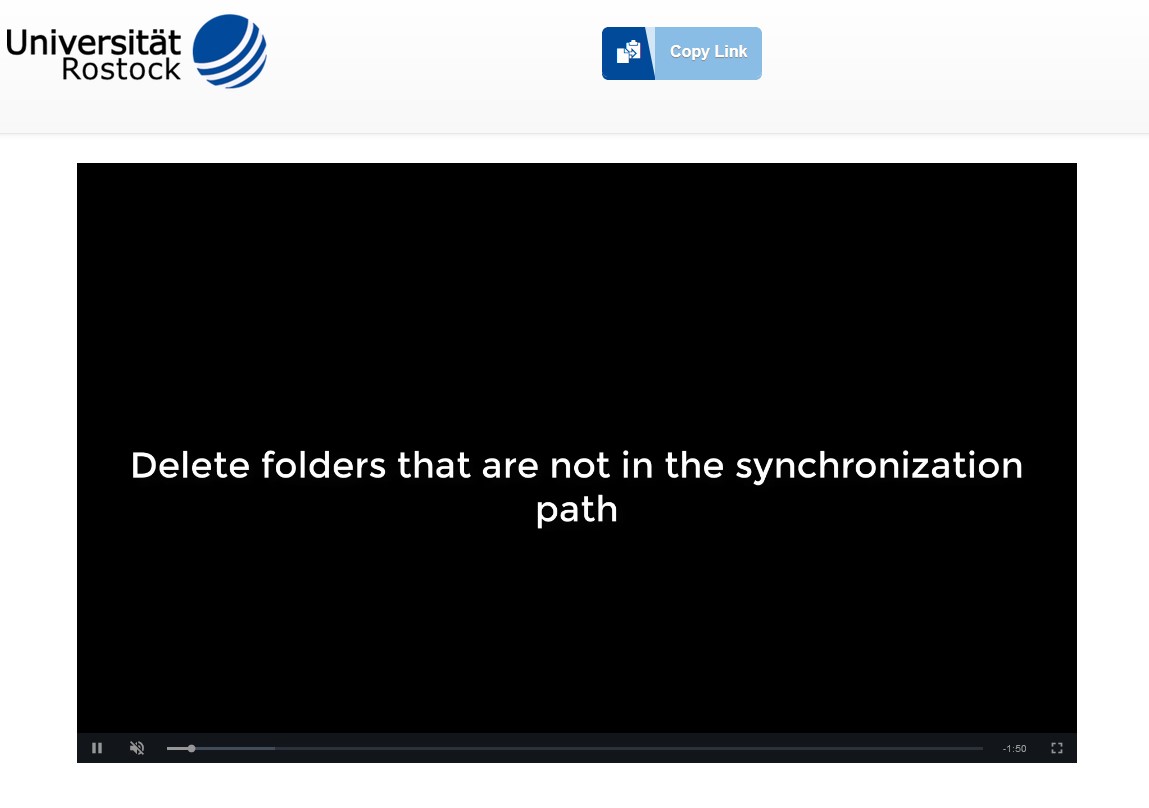
It is possible to share videos that cannot be downloaded. These videos can be played online in the web browser using the shared link.
Load a video into a new or existing folder and create a file link to this video.
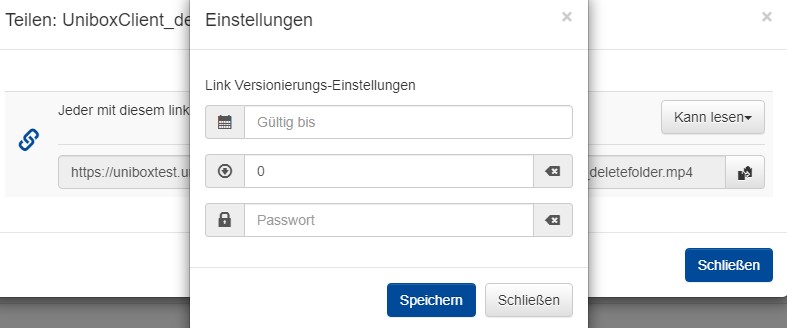
In the "Create Link" menu, click the "Can Read" drop-down menu and select the "Settings" menu item.
Limit the maximum download count to 0 and distribute the link to the recipients.
The recipients of the link will now be able to view and play the video in their web browser, but will not be able to download it using a download button.
embed links from Unibox in Stud.IP

It is possible to integrate data from the Unibox into an event in Stud.IP and make it available to event participants.
To do this, create a link to a file or folder (depending on what is required) and copy it to the clipboard.
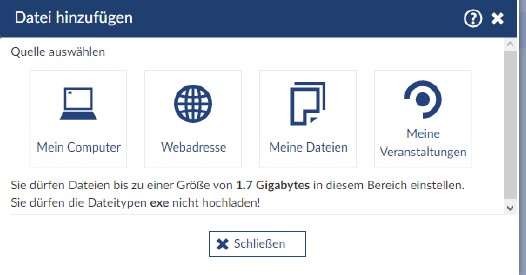
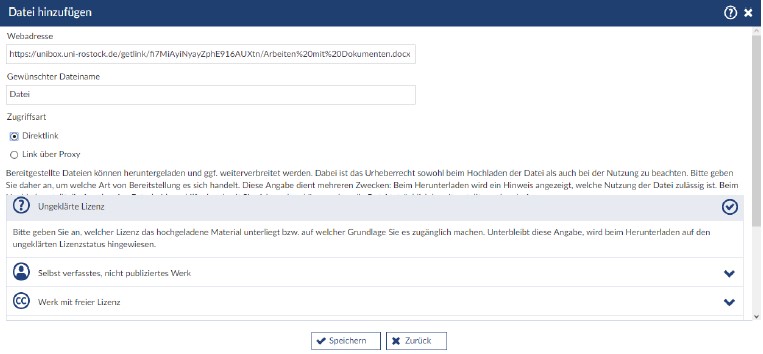
Then switch to your course in Stud.IP and select the "Files" tab. There you select Add file and select "Web address" in the dialog window.
In the following dialog window you can add the link, assign a name and select the appropriate copyright options
Transfer owner rights


To transfer a folder to another member (ownership), go to the folder overview page and select the member overview of the folder to be transferred.
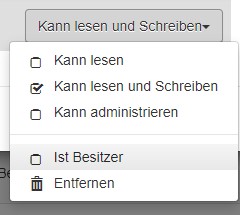
Then click on the permission of the member who should get the ownership rights and select "Is owner".
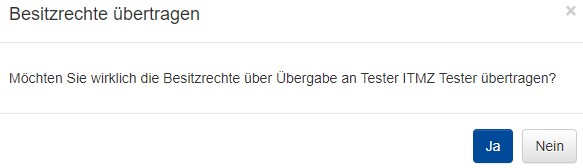
This is followed by a query asking whether you actually want to transfer the ownership rights to the specified user for the corresponding folder.
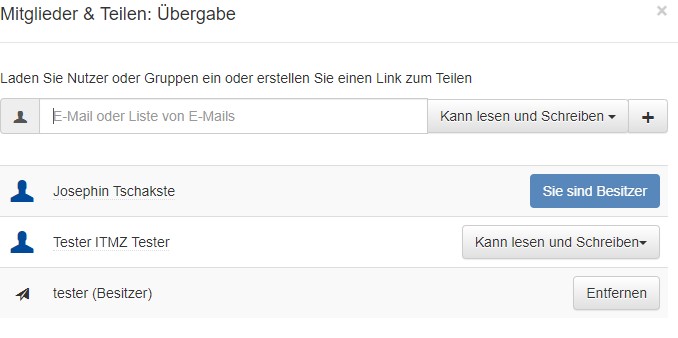
After confirmation, this ownership transfer is now displayed as pending in your member list.
The new owner must now log in to the Unibox and accept the pending invitation as owner of the folder.
After accepting the invitation, the member is now the new owner of the folder and you are automatically assigned the "Can administer" right. This can of course be changed if desired.
1.2.5. Administration of quota

All your deleted data will be moved to „Recycle Bin“. This does not delete a file directly and will continue to occupy your quota. So that your memory is not occupied by old versions or deleted files, you can delete these data under “versions”. Switch to the menu item Recycle Bin.
It contains the same folder structure as in Folders as soon as you have deleted one or more folders or files in the respective folders.
Under the menu item Recycle Bin the previous verions or deleted data for selected or all folders can be deleted. If one selects one or more folders, one can delete these and their contents by means of the purge-symbol .
This is followed by dialog box to confirm the deletion.
Please note that this will permanently delete the previous versions and restore older verions and deleted files is no longer possbile.
1.2.6. Management of created link releases
As soon as you have released a file or a folder via link, these appear unter the menu item “Links“. In this area, you have the possibility to manage and delete the link shares, as well as how often the files were downloaded via the link.


If you mark a link share, you can call up the link in your web browser via the visit-icon . There you have the possibility to download the file or the folder or to copy the link to the clipboard via the clipboard-icon in order to pass it on.

Using the settings-icon , you can edit link sharing and set the expiration date, the maximum number of downloads, deactive the download and set or change the password.
The link release can be permanently deleted by the delete-symbol . This will prevent users who have the link from downloading the file or folder or uploading files to the share
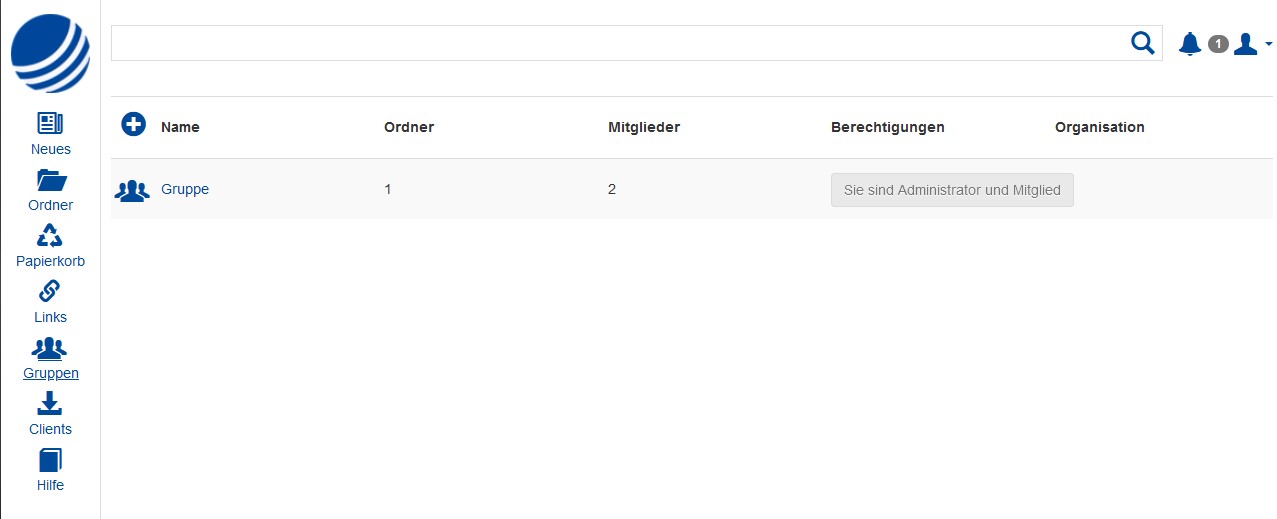
1.2.7. Create and use groups
It is possible to create user groups that have access to the same folders. This feature helps you to share many files with user groups.
To create a group, open "Groups" tab in the navigation bar.
Click the "Create group" button to open the group creation dialog.
Give a meaningful name to the group. Optionally, you can specify a description of the group.

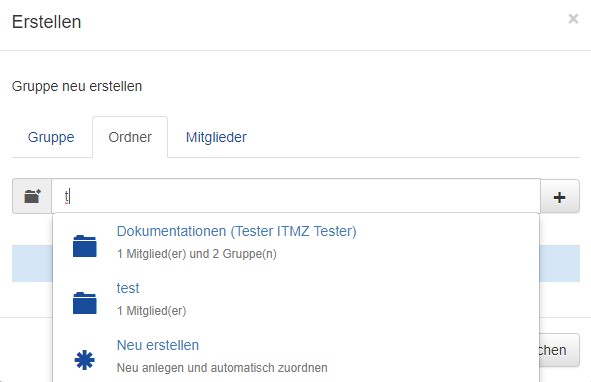
Then switch to the "Folders" tab in the dialog box.
Here you can directly re-create a folder on which the group should have access or you specify an already created folder. This will be suggested to you when typing the initial letters. Either choose the suggested existing folder or select "Create new" to create a new folder.
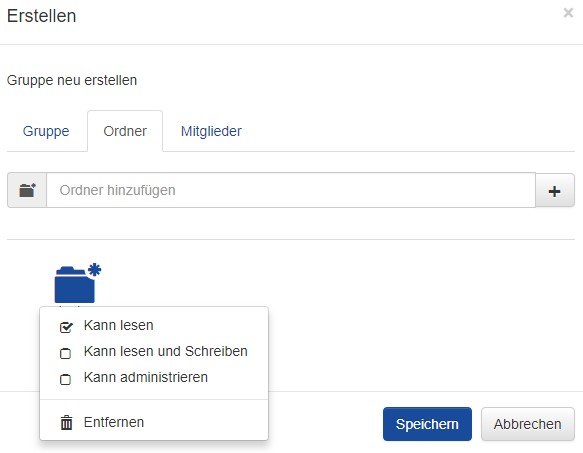
After you select or create the folders, they will be displayed in the "Folder" tab. Clicking on any of these folders will open a drop down menu where you can customize the group's permissions for these folders or remove the folder for that group's access.
After you have selected or created the folders and assigned the rights, go to the last tab "Members". Here you can now add all users who should become members of this group and have access to the previously specified folders.
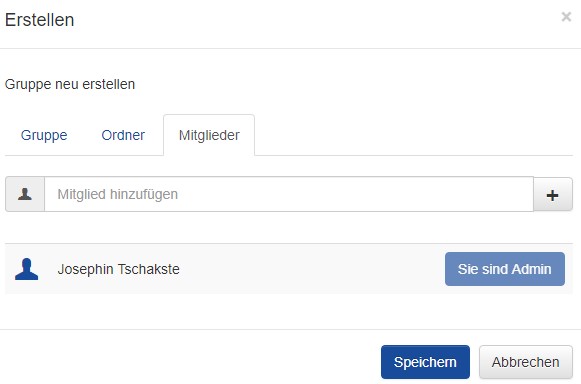
Please note that currently only the input of user IDs is supported. Entering email addresses or names is currently not supported. Furthermore, you can only add users to the group who already have an account in the Unibox Rostock.
More information:
If you want to add more users to a group, open the "Groups" tab and select the group to be edited. The dialog window opens and you can add more users in the "Members" tab.
If you would like to share further folders with this group, open the "Groups" tab and select the group to be edited. The dialog window opens and you can add further folders for this group in the "Folders" tab.
Users who can access folders via group sharing can also leave the group via the "Groups" tab. To do this, the group must be selected. This is followed by the "Exit" button. In addition, group administrators can remove members from the group at any time.
You cannot add groups via the share dialog at the folder level. All group changes must always be made in the "Groups" tab.
1.2.8. Create an upload form
Another function is to create an upload form. With this function it is possible to upload files from internal and external users (even without having a user account in the Unibox).
This can be used, for example, in the field of online teaching for the submission of homework, since only the creator or the users of the upload form authorized for the folder can view the uploaded content.
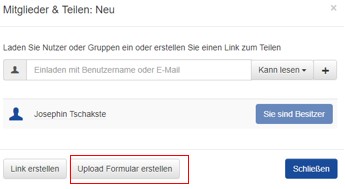
Navigate to a top-level folder that you want to use as the upload destination and click the Share-icon and select Create Upload form.
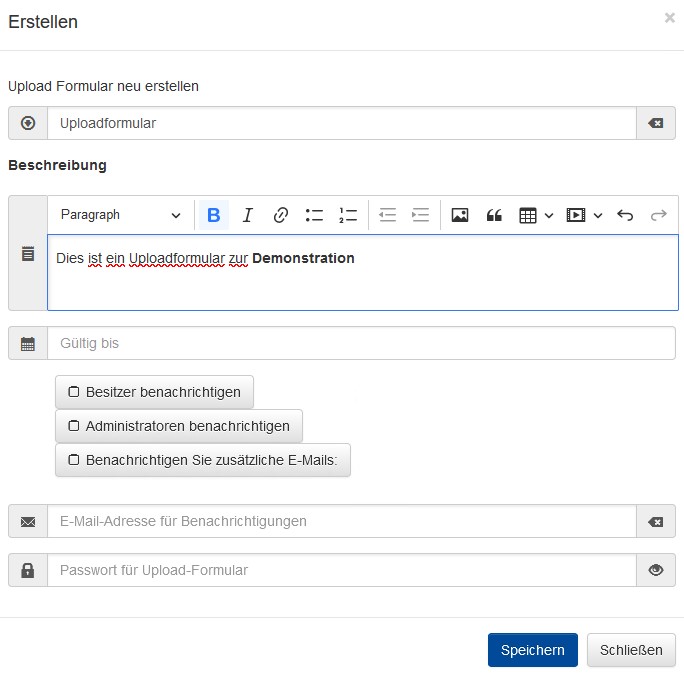
Enter information about the upload form. Enter a heading and a description. You can optionally create a validity date until which an upload is possible and enter an email address. Furthermore you can optionally set a password.
If you set a password, it is necessary to provide it to the users who are going to upload data via the upload form. Otherwise an upload by the users is not possible.
Furthermore you have the possibility to set notification options:
- Notify owner - The owner of the folder will be notified about changes via e-mail
- Notify Administrators - All users who have administrative access to the folder will receive an email notification of changes
- Notify additional emails - All users who should be notified additionally
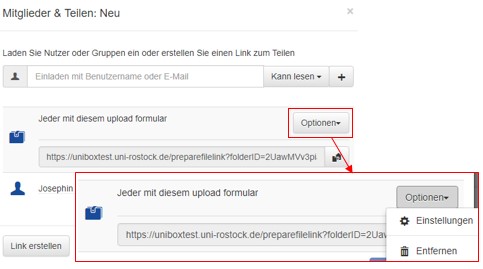
After you have created the form, a link to the upload form appears in the share dialog. There you can also change the expiration date or delete the upload form. Copy the link and send it to the users who should upload files there.
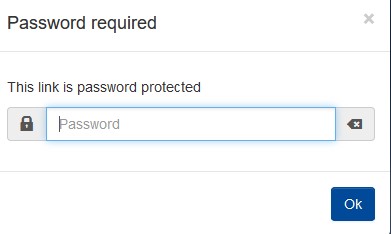
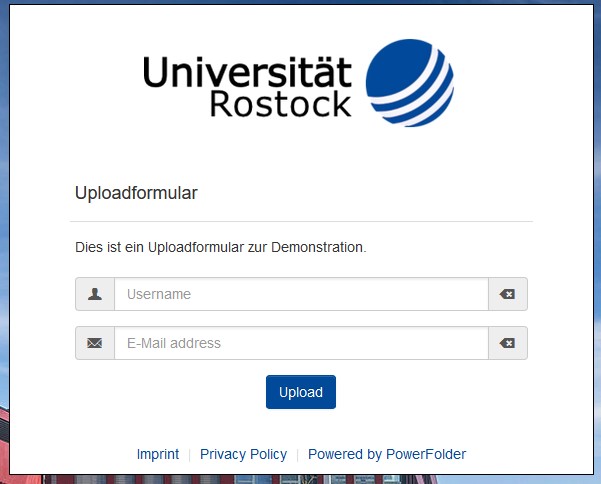
If the user opens the link you have sent and the upload form contains a password you have set, the user will receive a password query form.
After entering the correct password, the following input mask appears. If no password has been set, the user receives the input mask directly.
Specifying a username and an e-mail address is required.
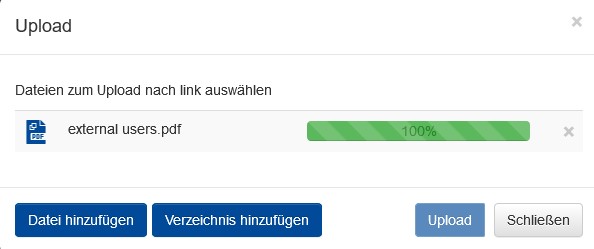
If the user subsequently clicks Upload, the user receives a dialog box for uploading the files. The user has the option to upload directories or individual files by selecting "Add file" or "Add directory" and uploading the files via "Upload".
If you have provided an e-mail address when creating the upload form, you will receive an e-mail after uploading files in which you will be informed about the upload.
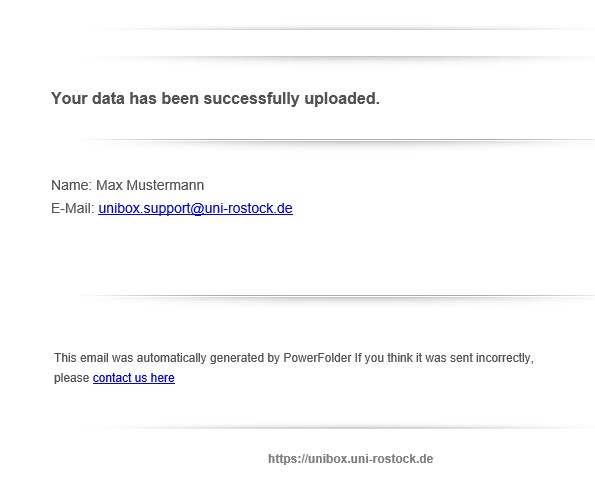
The user who has uploaded data also receives an e-mail that his upload was successful.
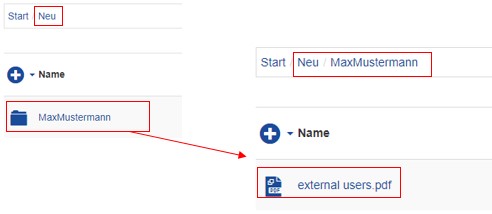
Subsequently, a subfolder of Max Mustermann has been created in your shared folder, in which the files uploaded by him are located.
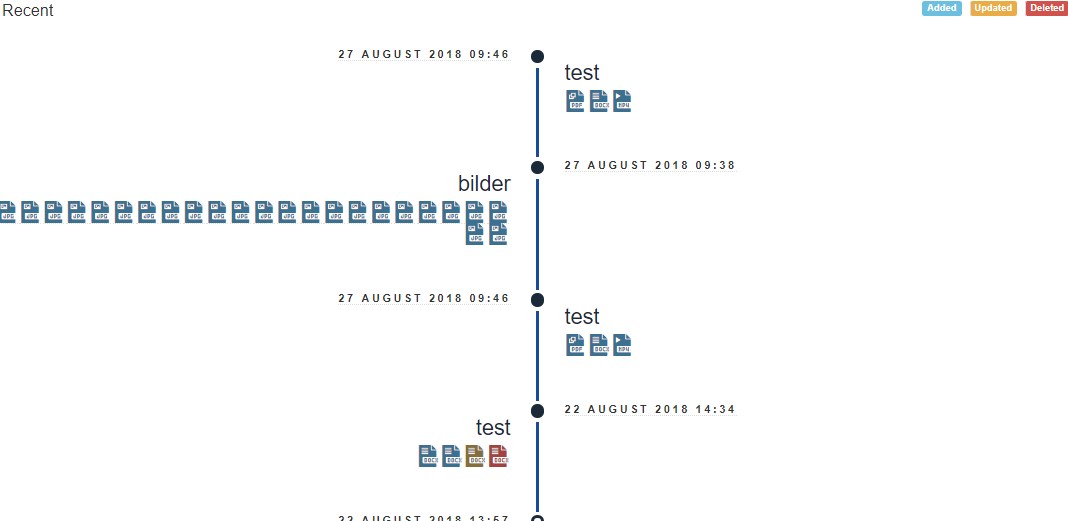
1.2.9. News

The News section gives you the option to see when the files and what type of file have been uploaded, updated or deleted in the folders. Newly uploaded files are blue, updated files orange and deleted files red.
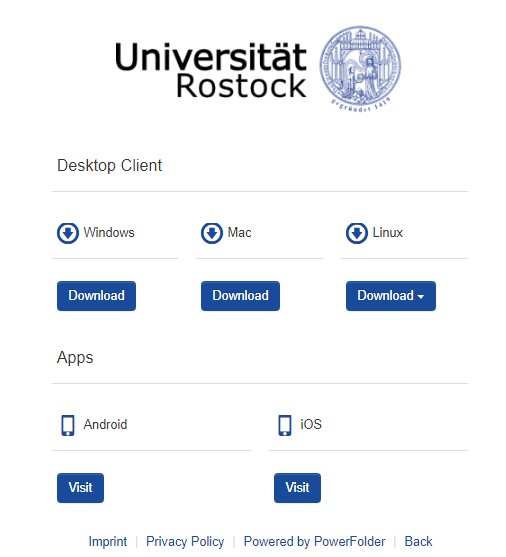
1.2.10. Clients

In the Clients section, you can directly download the desktop clients and visit the websites of the mobile apps. In the Clients section, you can directly download the desktop clients and visit the websites of the mobile apps. In the Clients section, you can directly download the desktop clients and visit the websites of the mobile apps.
1.2.11. View mode and sort option
Change view

In the web interface, there are various view options at the folder level. You can switch between three different views using the view-icon .

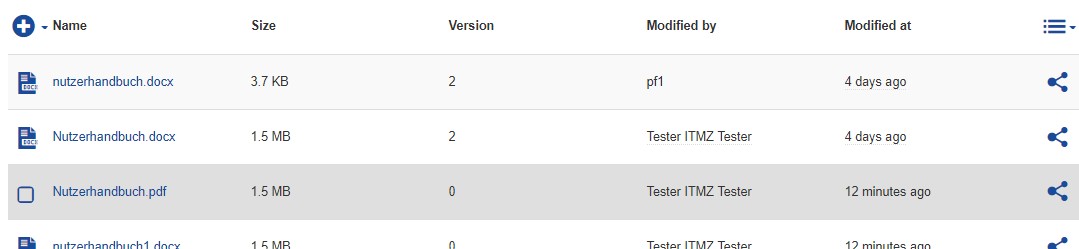
List: This is the default view mode. This shows all subfolders and files in the current directory and shows most information about the files and subfolders.

Grid: This view mode displays all icons next to each other and gives the name under each object.

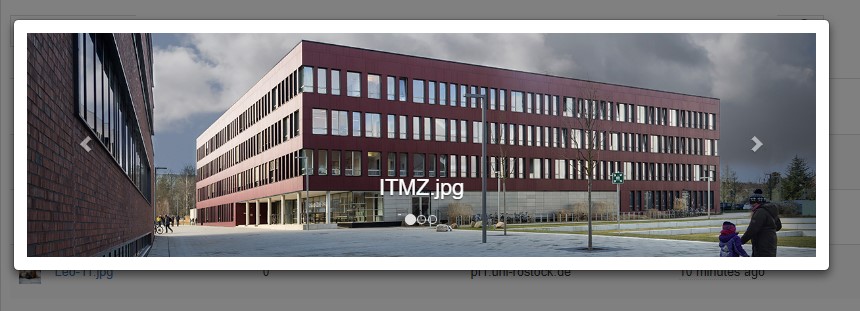
Gallery: This view only works for folders containing images. This view opens the images in a slider.
Sorting options
The list of contents can be sorted by clicking on the name of the section to be sorted. Click again to change the sort option. A small arrow indicates the direction in which the sort option is being used.


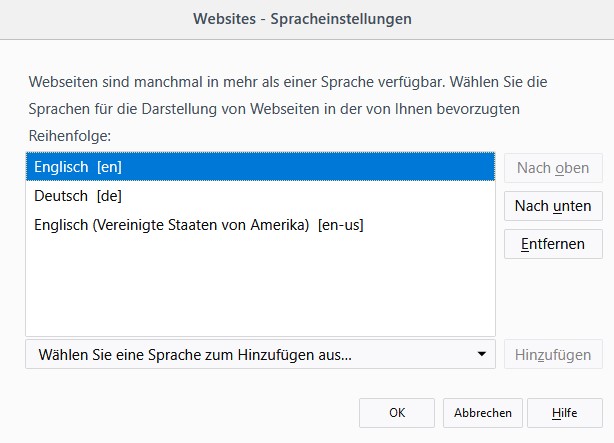
1.2.12. Language
The web interface is displayed depending on the web browser and the operating system in the respective installation language. If the display language of the web browser is set to English, the web interface of the Unibox will also be displayed in English. The language can be changed depending on the operating system in the web browser settings. This setting applies to all web pages that are subsequently called.
1.2.13. Account Overview

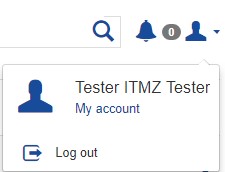
Under „My Account“ you have the opportunity to view your accounts information and to modify some of the information. You get to your account information by clicking on the -icon and selection „My Account“.
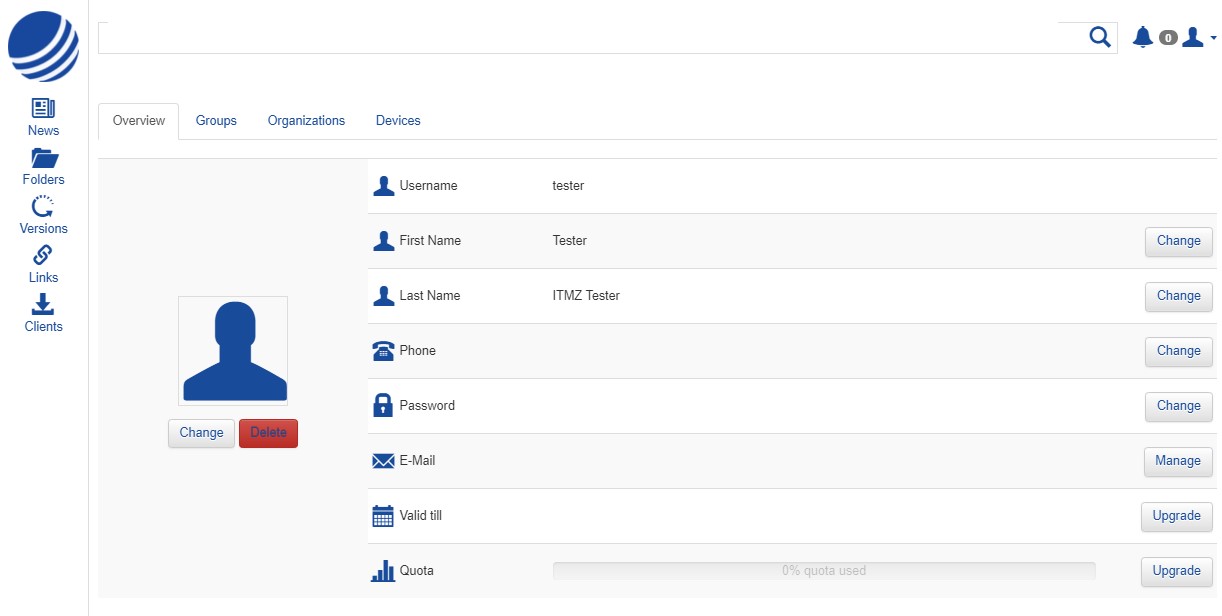
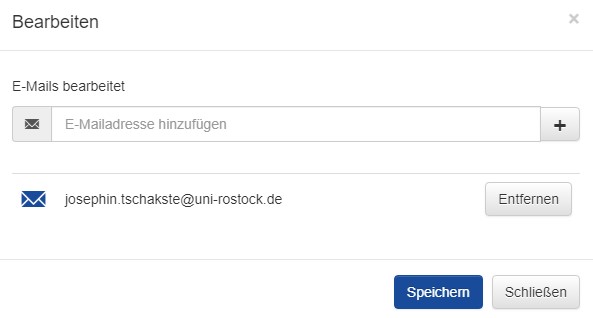
You will show four tabs for your account. The overview tab provides general user account information, such as username, name, title, phone number, e-mail address and current quota usage. In this view, you have the possibility to change the following information:
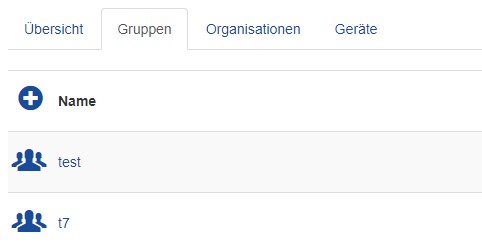
In the tab „groups“ you can see the groups to which you have added:
In this tab, the groups to which you are assigned are displayed and you can create and manage groups. Information can be found under 1.2.7. Creating and use groups
In the „Orgainizations“ tab, you can see the organization to which you have been assigned. However, this isn´t used at the University of Rostock, which is why this tab is empty.
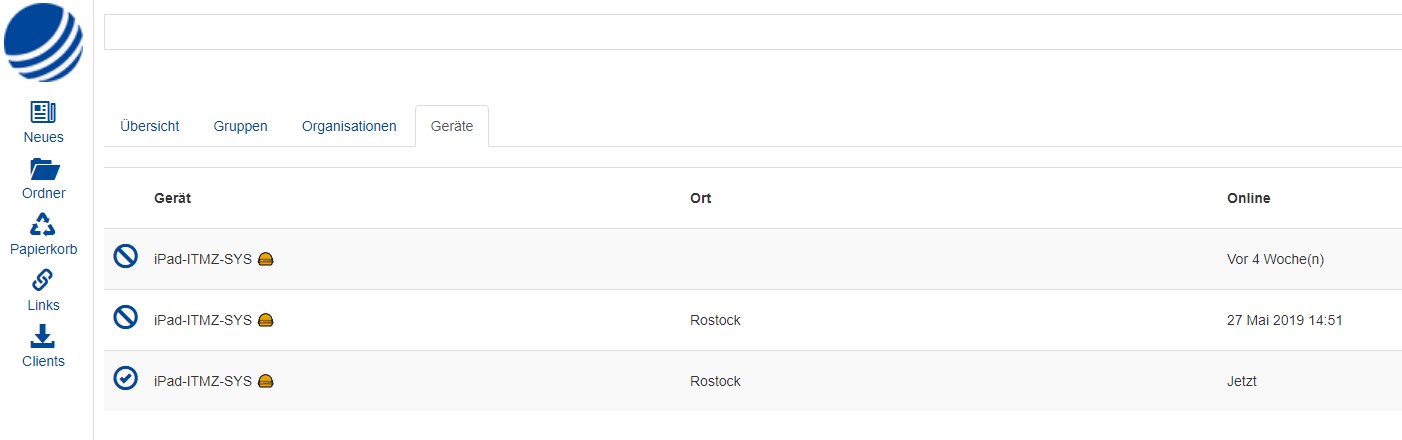
In the „Devices“ tab, the devices are displays with which device, which software version you have authenticated against the Unibox and when the last logon of this device took place.
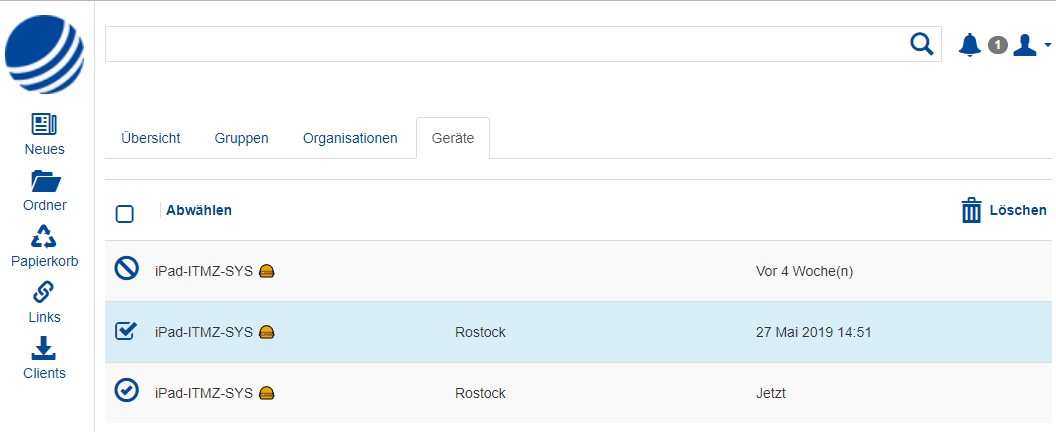
Here you also have the possibility to remove old connections of the devices.