3.3. Working with the iOS-App
After logging in, the iOS app will connect to the server. You can download files or upload them using the app.
Contact
Albert-Einstein-Straße 22
18059 Rostock
Josephin Tschakste
Tel.: +49 381 498-5347
unibox.support(at)uni-rostock.de
3.3.1. First Start
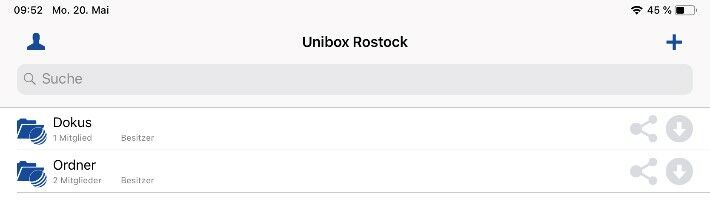
After logging in, you see the folder overview. This will display existing folders and their information. The folders can be downloaded, shared and edited here.
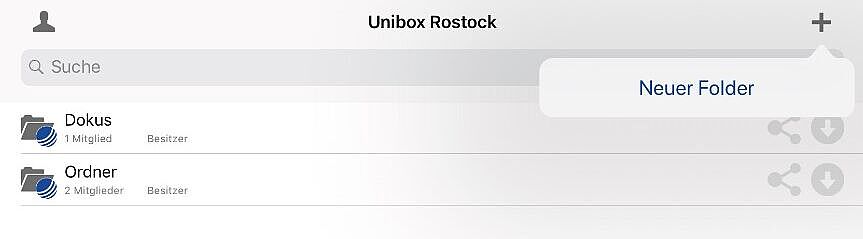
3.3.2. Create a folder

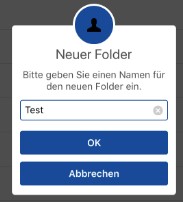
In the folder overview, you have the possibility to create further folders. Click on the plus symbol and select “New Folder”. This opens a dialog box for creating a new folder and assigning a folder name.
3.3.3. Folder actions


To open a folder, tap the folder name.
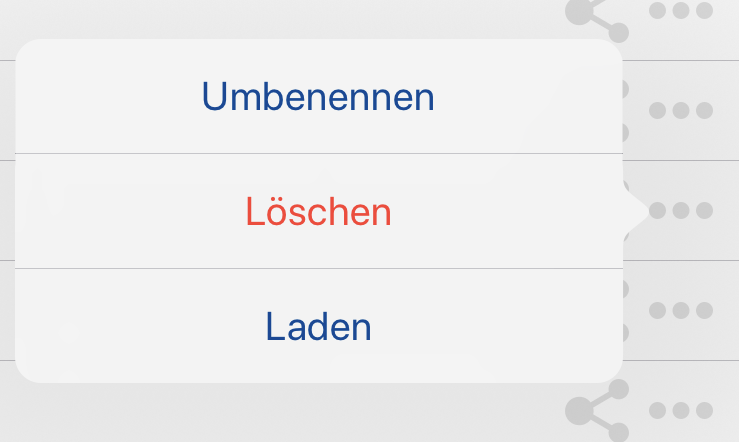
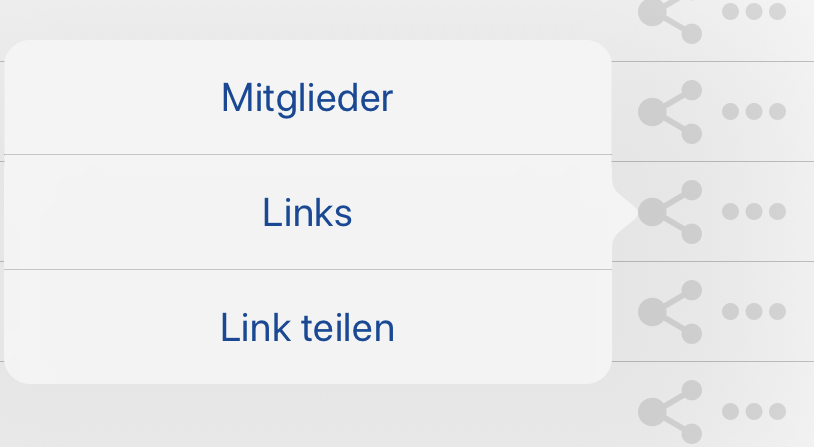
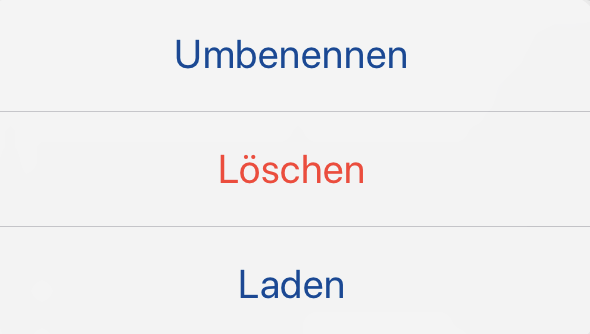
Use the arrow icon to download, delete and rename folders or files. The Share icon lets you view the members of the folder and the links you have already created, add new members, and create a link.
Rename a folder
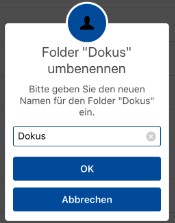
If you select Rename under the arrow symbol, the dialog box for renaming opens. Enter the new or changed name of the folder here.
Delete a folder
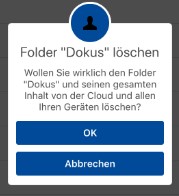
If you select Delete under the arrow symbol, the dialog box for deleting opens. If you delete the folder on your iOS device, it will also be deleted on the server and on other synced devices.
Download a folder


The folders and files are available live from the Unibox and are always synchronized between the device and the server. With the option Load, it is possible to download the data to the device and to use it locally.
During download, a loading bar will be displayed next to the folder or file.
After downloading the folder or file, there is a check mark in front of the folder icon. This means that the data is available locally on the device.
If a folder or a file was loaded locally on the device, the folder or the file can be deleted locally at any time via the app.
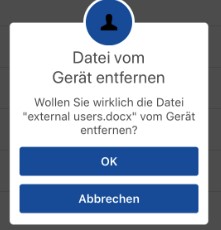
The menu below the arrow icon then changes and now offers the option Remove from device instead of Load.
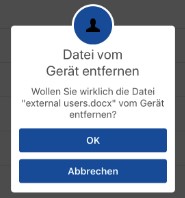
Selecting this option will result in a dialog box confirming deletion of the folder or file. The folder or file is only removed locally from the iOS device, and the folder or file remains on the server and thus on all other synchronized clients.
Members


Select members below the share icon to open a new page. This will show all members with their permissions to this folder. Groups are represented by the group icon . Individual users are represented by the user icon .

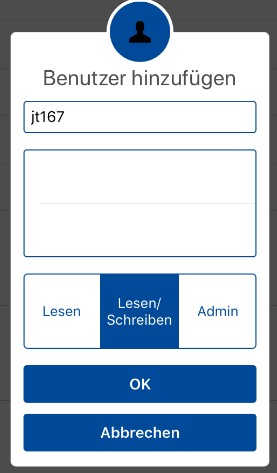
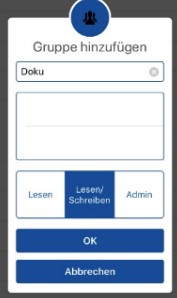
Here you also have the option to add new members to the folder. To do this, select the plus symbol and select Add user or Add group (if you have already created your own groups via the web interface).
When adding more users or groups, you have the option to grant them "Read", "Read & Write" or "Admin" permissions.
Please note: The users have to be entered individually. An enumeration of several users is currently not possible.

Change or remove members permissions
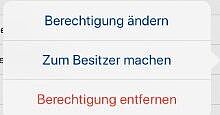
You can change the permissions for each user and group at a later time, make the owner the owner, or revoke the permission.
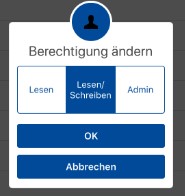
If you choose Change authorization, you receive the authorization dialog and can choose between the "Read", "Read & Write" or "Admin" permissions
Links
If you select links below the share symbol, a new page opens. This will show you the links created for this folder or file. You can also see how often the folder or file has already been downloaded via the link.

Share links
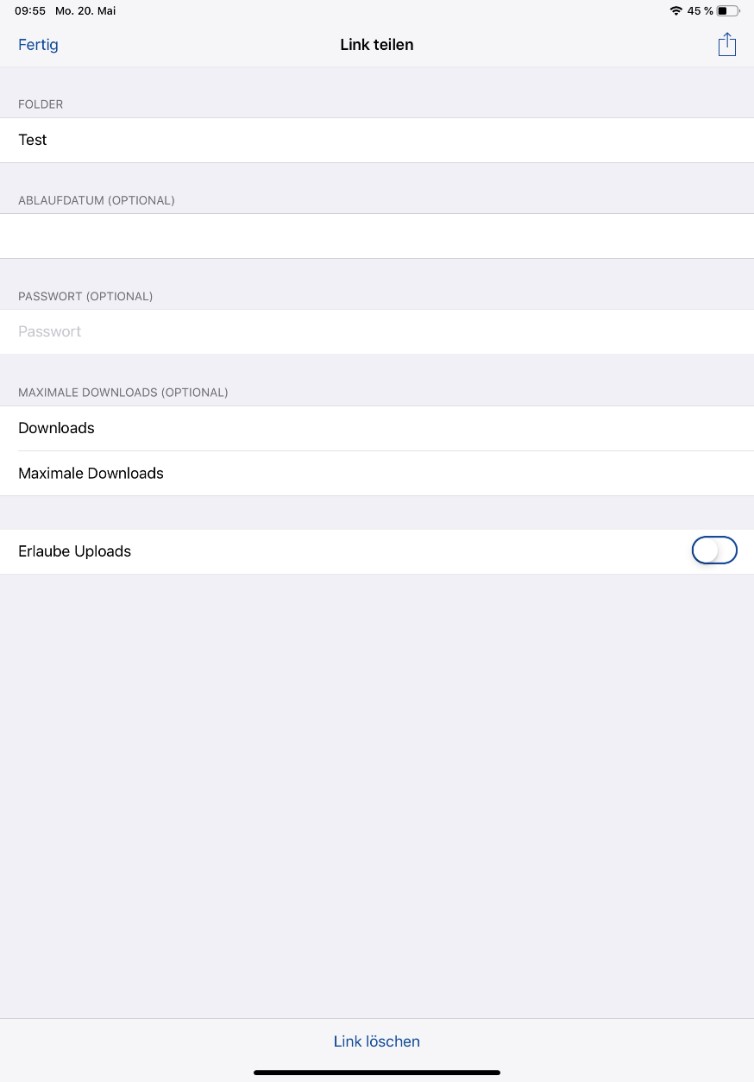
If you select Share link below the share icon, a new page opens. On this you can create a link for the selected folder or file.
Here you can optionally specify an expiration date, a password and a maximum number of downloads. Furthermore, you can enable the option Uploads by activating the switch.
The link can also be deleted at any time in this menu. At the bottom of the page you will find "delete link".
After you have made all the settings for the link, you can use the share icon to share the link via an app of your choice or copy the link to your clipboard and paste it into a desired application.
3.3.4. Work with folders and files
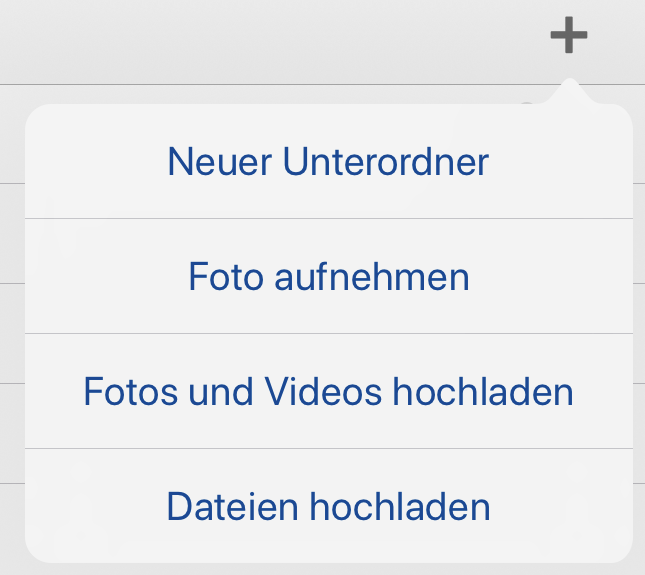
If you switch to a folder, all contained subfolders and files are displayed. With the plus symbol you can create subfolders, take photos or upload photos, and upload files.
Select "New subfolder" will open the dialog box for creating a subfolder.
Select "Take a photo" launches the camera app to take a photo. You can load and save this directly into the folder using "Use Photo".
Select "Upload Photo" launches the Photo Gallery app. Here you can select and upload the photos you want.
Select "Upload file" launches the file app. Here you cann select and upload the files.
For every file and subfolder, you will also find the sharing menu and the download menu within the folder.
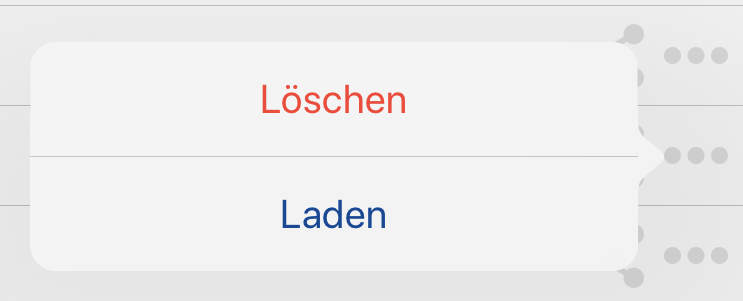
If you select the three dot symbol for a file, you can download or delete the file. Please note that deleting will also delete the file on the server and all other synchronized devices.
If you select the share icon for a file, you will be directed to a new window for creating a link, as already known at the folder level from the "Share Link" menu item.
If you have already downloaded a file or subfolder locally to the device, you can use it locally. Downloaded files and subfolders will get a check mark on the file / folder icon within the app.

The menu below the arrow icon changes and offers more options. The subfolders and files can be renamed, moved, copied, deleted or removed locally from the device.
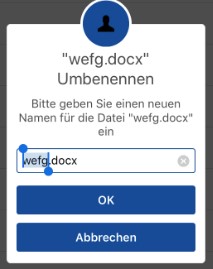
If you choose Rename for the file or the folder, the dialog window for renaming the folder opens, assign a new name here, then correct the name.
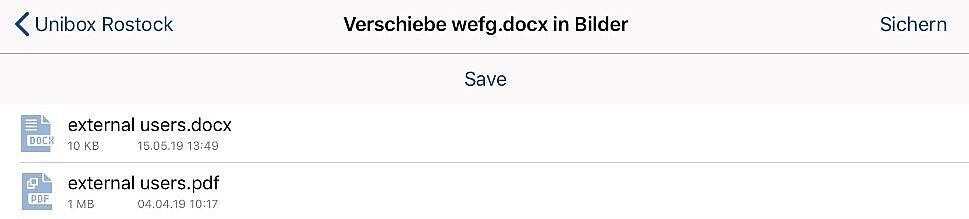
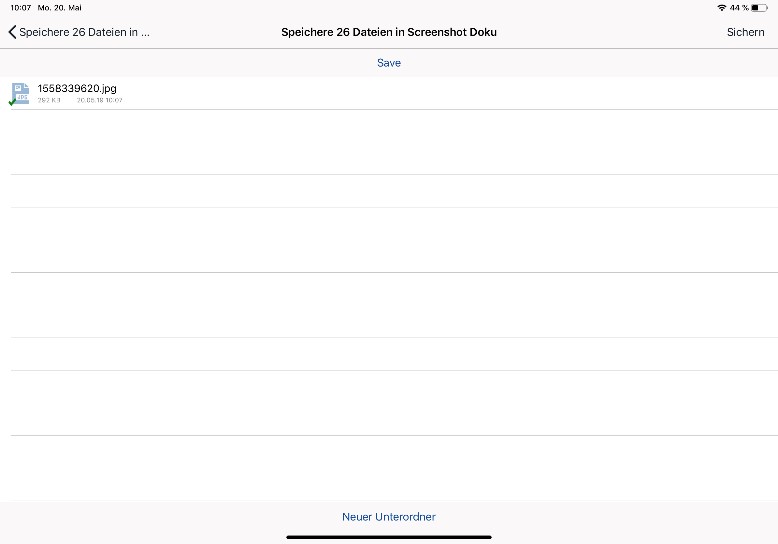
When moving or copying, the process is identical. You select a file and choose move. Then navigate to the folder where you want to move the document and choose "save". The file is then moved to the selected folder and is now available in the new folder. When copying, you also navigate to the folder in which the document is to be copied and select "Save".
The document will then be present in both the newly selected and the old folder.
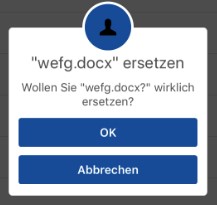
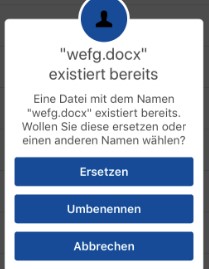
If there is already a file with an identical name in the folder where you move or copy the file, the app asks if you want to replace or rename the file. If you choose "Replace", another question will ask if you really want to replace the file. If you choose "Rename", the dialog box for renaming follows.
If you select Delete, the dialog box for deleting opens. If you delete the folder on your iOS device, it will also be deleted on the server and on other synced devices.
If you select Remove from device, the folder or file will be removed locally from the iOS device, and the folder or file will remain on the server and thus on all other synchronized clients.
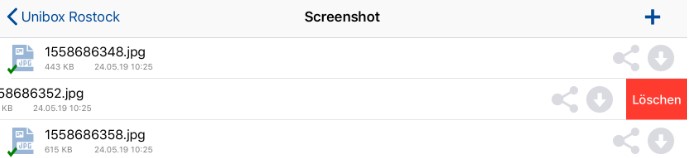
Swiping to the left within a folder also gives you the option to delete a subfolder or a file.
3.3.5. Share and deploy files outside the app via the Unibox
You can also download files and photos to the Unibox app directly from your iOS device. On iOS you have various options to load files into the Unibox app.
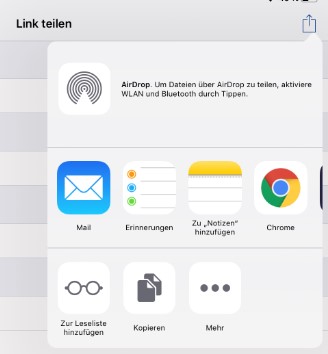
iOS option "Share"
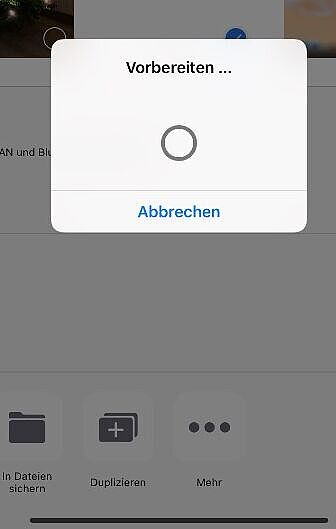
The "Share" option is available through the menu by holding a file longer, as well as the share icon

The files are prepared for upload and the Unibox app is opened. In the Unibox app, select the folder where the files are to be saved and uploaded using "Save"
Then the Unibox app closes and you are back in the folder where you previously selected the files.
iOS option "Move"
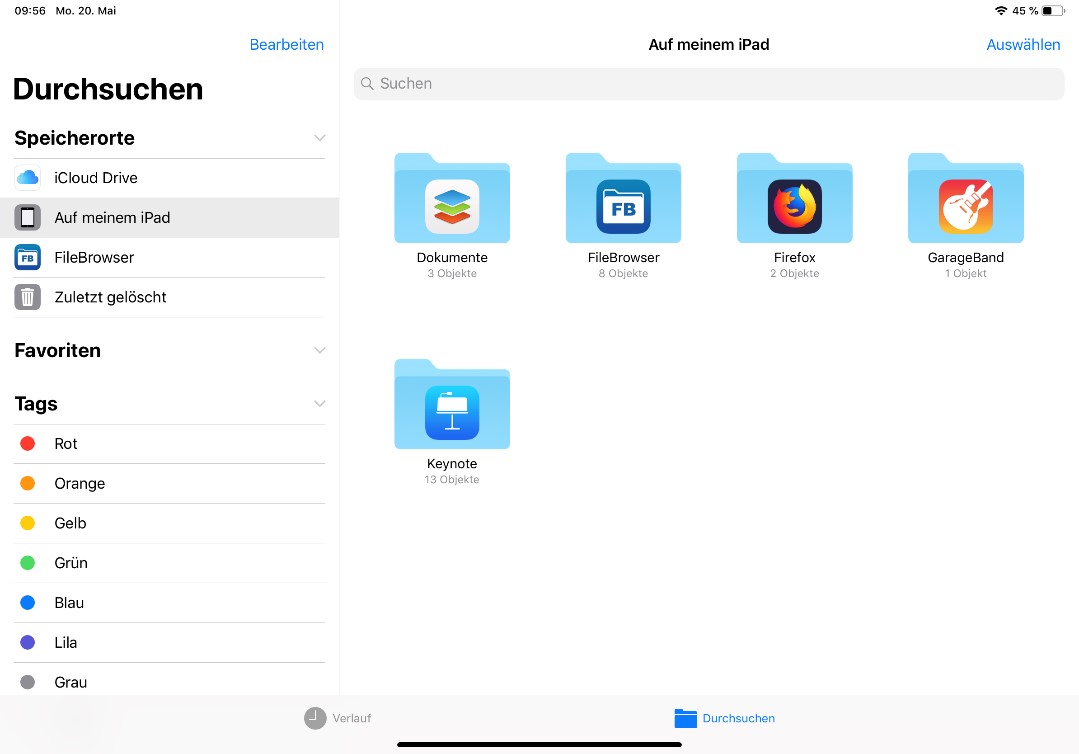
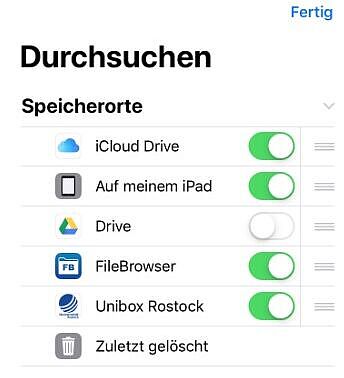
If you would like to load files into the Unibox app using the "Move" option, you must allow this beforehand in the iOS file manager. To do this, open the iOS file manager and select "Storage locations" (if you are in portrait mode, the menu is automatically displayed in landscape orientation)
Select "Edit" for the Location list. This will give you the option to enable additional locations, allowing you to select the Unibox app and add it to the menu.
Confirm the setting with "Done".
Now you can load files into the Unibox.
The "Move" option is available through the menu by holding a file longer.
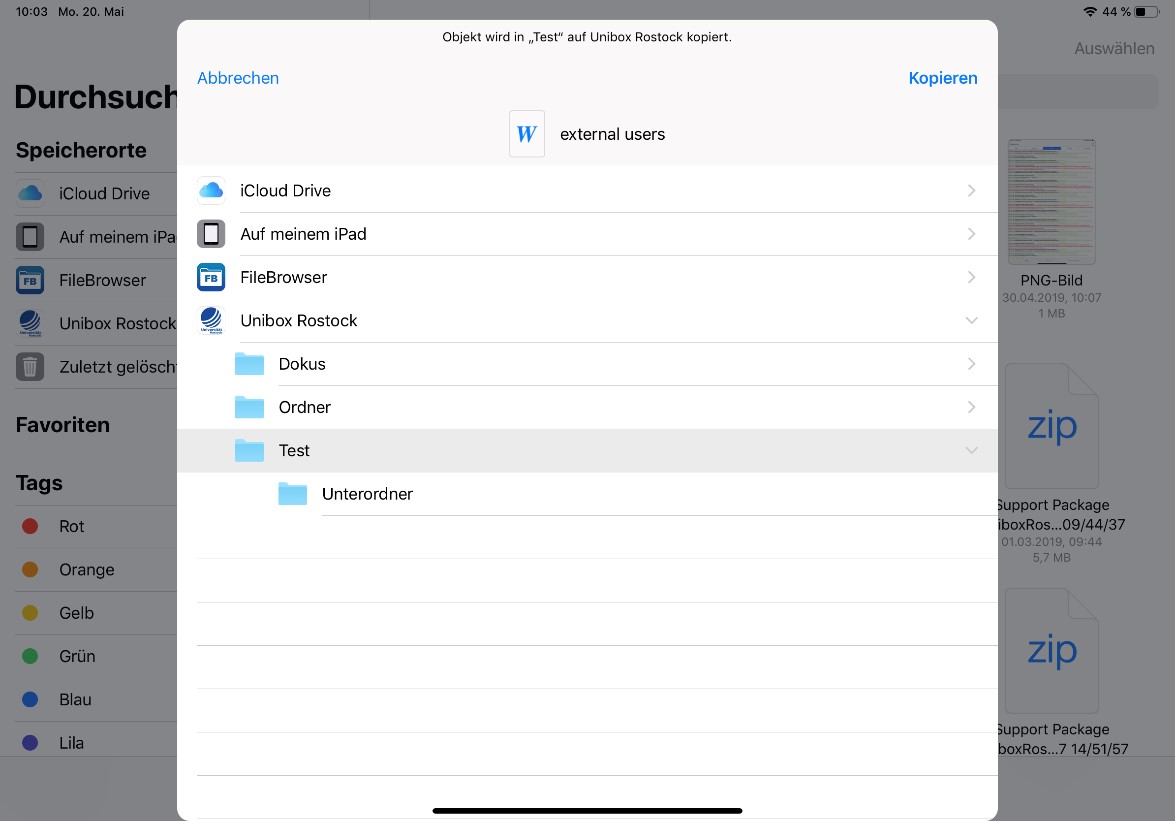
After selecting the option "Move" a new window opens to select the folder in which the file should be copied. Here you can now select the Unibox and navigate through the existing folder structure and select the appropriate folder. Confirm the operation with "Move" and the file will be put into the Unibox. You can also copy files into the Unibox, the procedure is identical.
By adding the Unibox to the locations, it is now also possible for you to navigate the folders locally on the device and edit, delete or share the files with other apps.
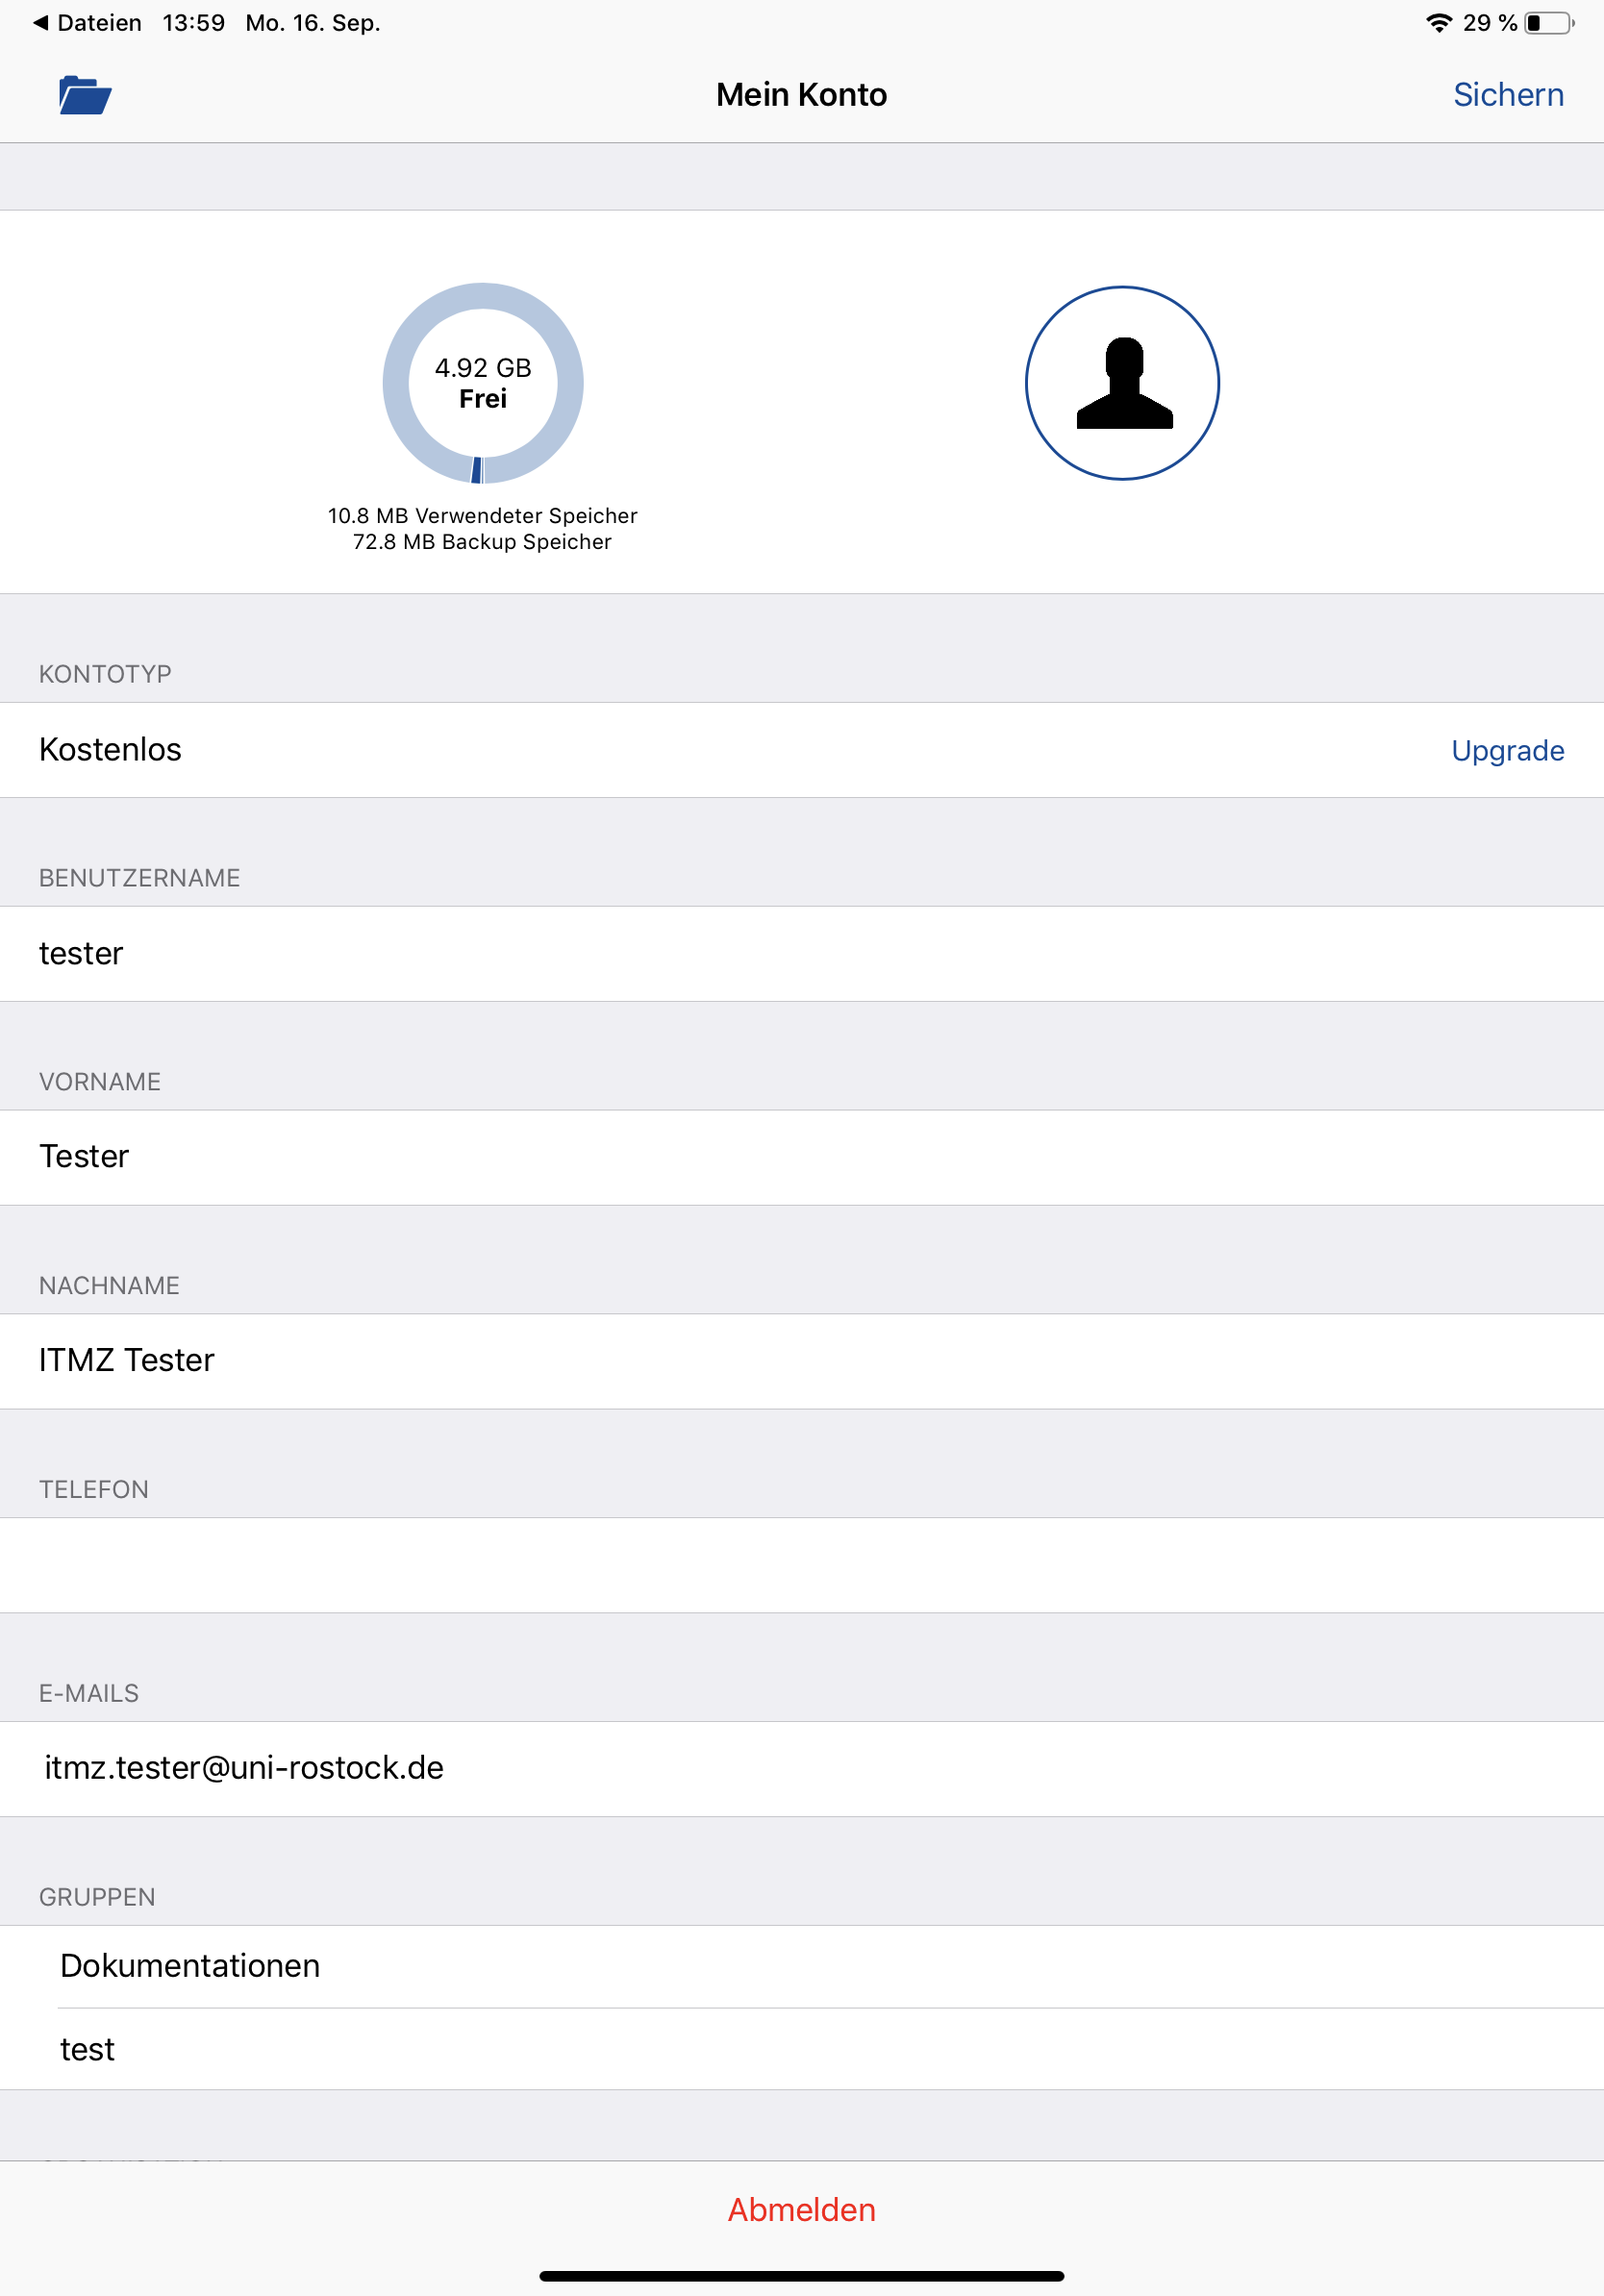
3.3.6. Account
Under "My Account" you can find various information about your account.
The used memory and the available memory are displayed.
You will see information about your account and which groups you belong to.
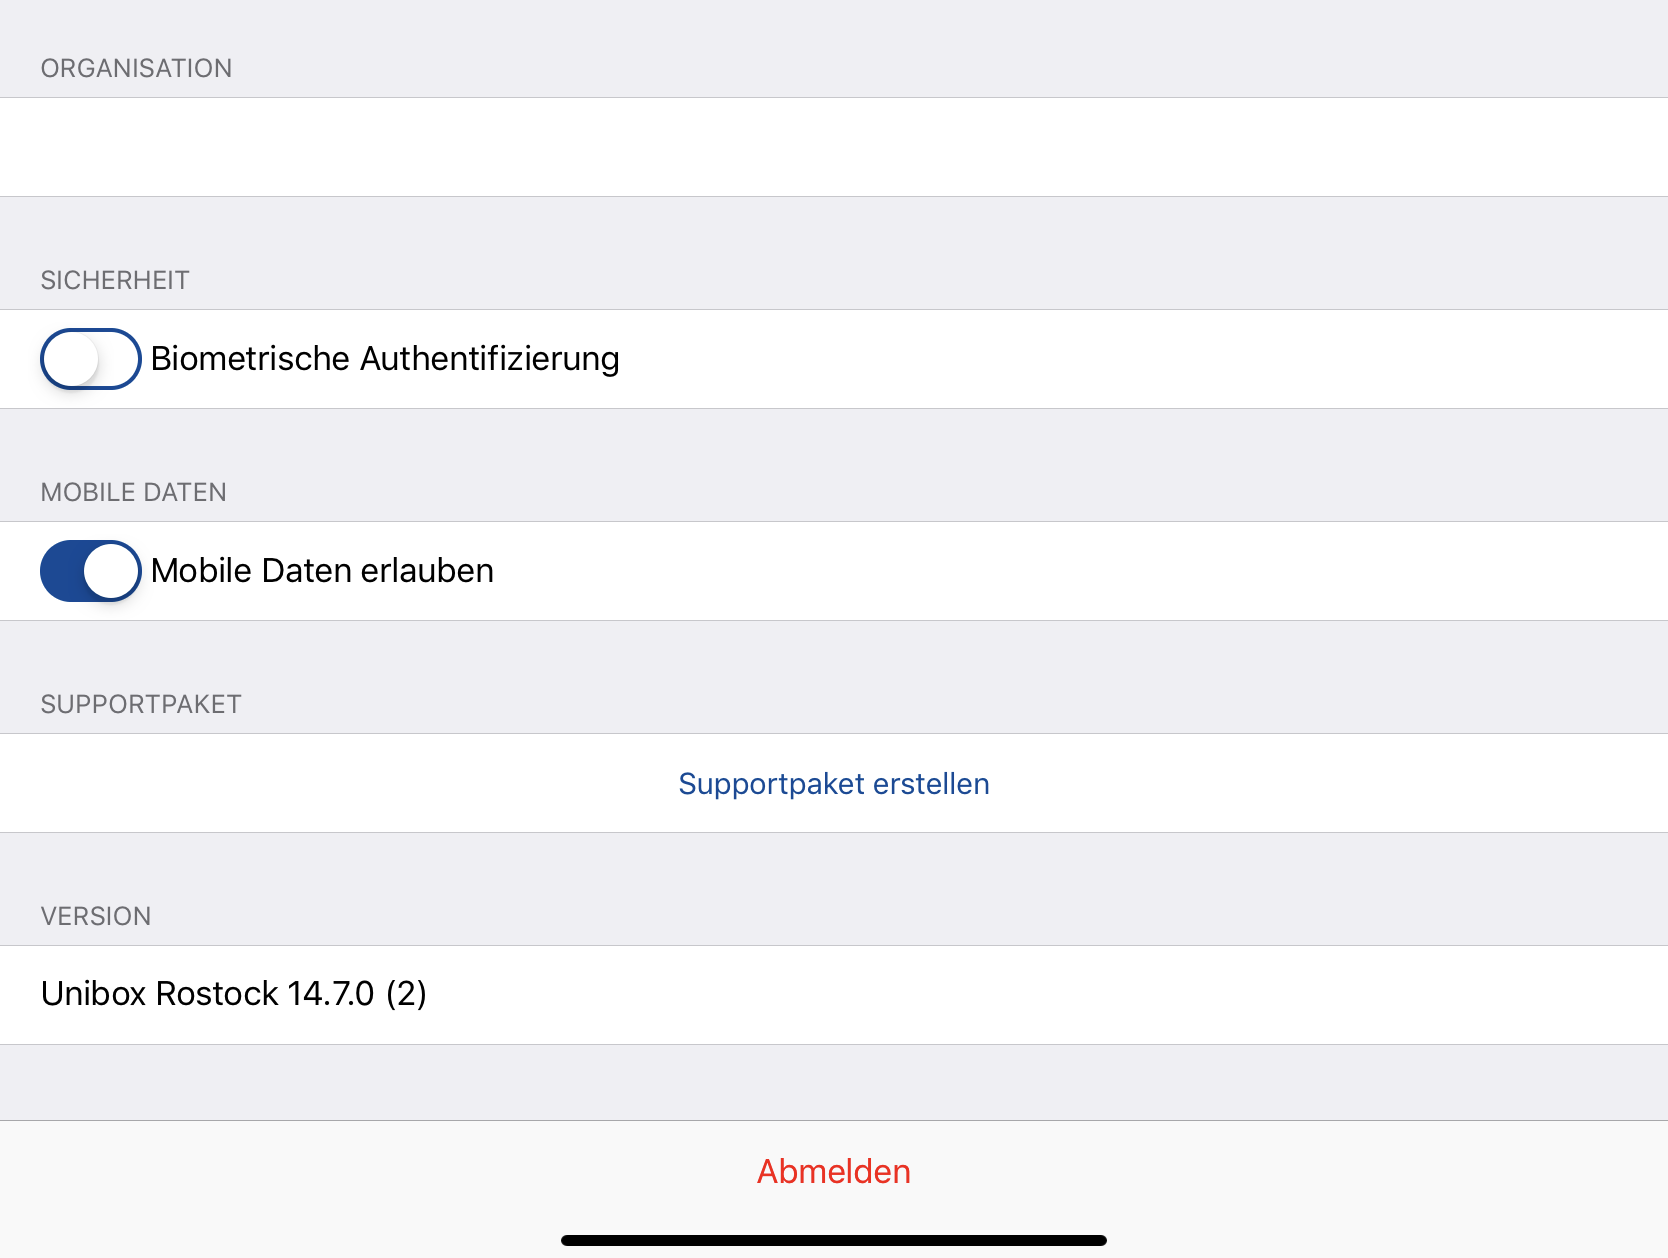
Furthermore, it is possible to turn on biometric authentication.
You can decide whether the app can only download and upload files in the WLAN or even with "mobile data".